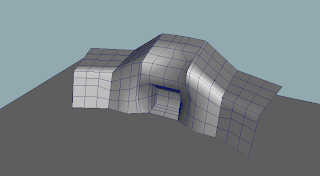
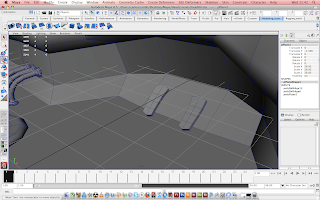
This picture is where my control station started off, as you can see it is very basic with just the slight hint of what it is meant to be. From our group research we chose to have a large area for the feet at the base and a larger area on top to allow the positioning of other assets such as monitors, controls, buttons and cables.
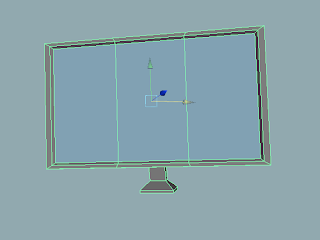
My next step was to give the control station a monitor, I created a very basic looking monitor by extruding and shaping a single polygon cube. This is what I ended up with.
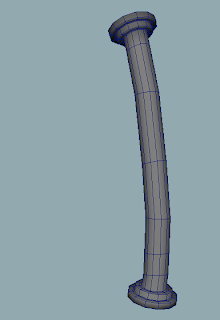
The tube above represents the connection between the control station and the body of Moom, this was simply made by creating the right shape EP curve tool and then revolving it into polygons, I then reshaped it by slightly editing the position of the vertexes. by doing so I achieved a curve.
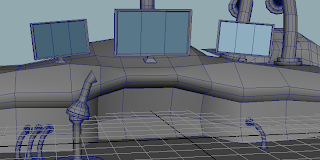
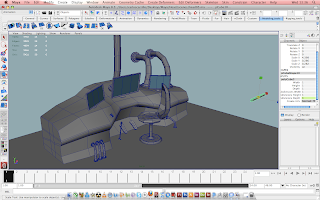
Once I had created and placed everything in its preferred place I ended up with something like this. as you can probably tell, the base unit for the control station is now a different shape, the reason for this is that the first one was made in nurbs and there were too many complication when editing its shape. I found that polygons are better when it comes to more solid objects.
There is also an unfinished object in the centre of the image, this was an idea which was discarded as it was taking too long to get the right shape. It was originally meant to be a smaller control panel on wheels which could be pushed around by the workers.
While looking at the empty space at the bottom of the control panel i came up with the idea of having Moom workers push up and down the foot pedals when they wanted the larger moom to walk. it works as simple as pushing the right pedal down and having the larger moom's leg move up, same for the left leg.
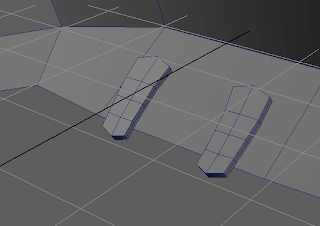
Closer shot of the pedals, these were made by adding additional subdivision to a cube and then shaping it to look like feet.
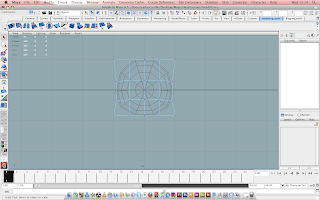
At this stage I had a pretty descent looking control station, however, a chair was needed. From reference to a group sketch I began to model the chair, I started with the centre part and then moved on to the back. to create the right shapes I added extra subdivisions to my polygon and then used a tool known as a Lattice to shape it how I wanted, using the Lattice tool allowed me to change the shape without effecting the vertexes too much, it also cuts down on work.
At this stage the chair was half way done, as you can see the rear is complete, this was made exactly the same way as the bottom part.
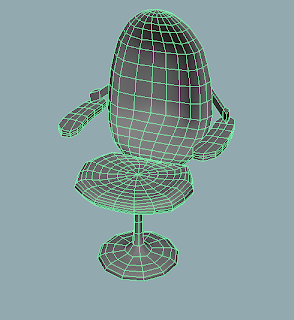
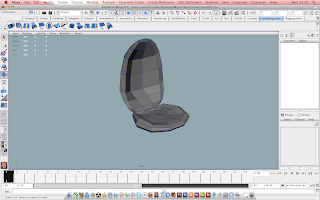
Here is the complete version of the chair, as you can see, it now has a base and arm rests. The base was done using the revolve tool, the same way the pipes were done earlier in the project.
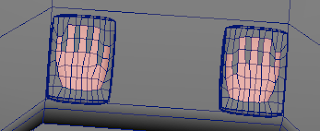
This picture shows some of the controls used for the movement of large moom, the idea is that when a worker puts his hands on the panels he will gain control of the outer arms and hands. I will probably have to scale this up as it might be too small for mooms massive hands.
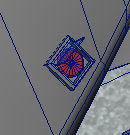
We wanted buttons which will have a purpose when it came to our animations. for example, the button you see here is the On/Off button, this would be used when the large moon has to rest. we want to have workers interact with the buttons and then show a different cut scene outside the work station showing what the action has done.
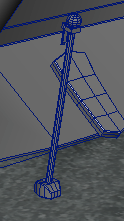
This is the hand break, it is used to stop the movement of moon, while this is up all moment should stop, same as like a car.
Picture of centre station without texturing.


